

What are the installation tools for Geotextile Stabilization Fabric?
Jul 24, 2026
Leave a message
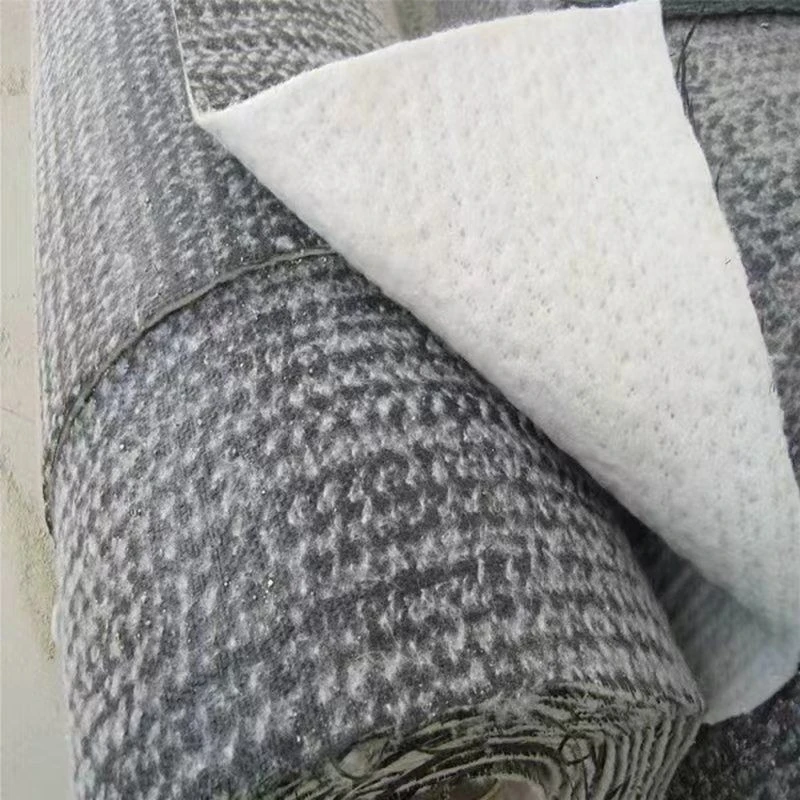
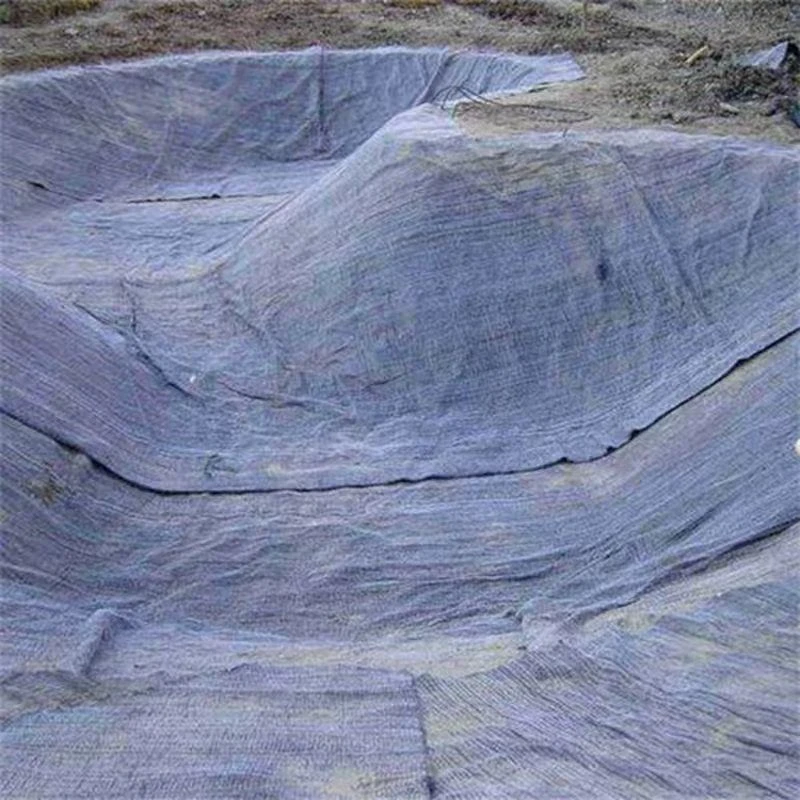
Hey there! As a supplier of Geotextile Stabilization Fabric, I'm super stoked to share with you all the cool installation tools you'll need for this amazing product. Geotextile Stabilization Fabric is a game - changer in the construction and civil engineering world, offering great soil stabilization, erosion control, and drainage solutions. So, let's dive right into the tools that'll make your installation process a breeze.
1. Measuring Tools
First off, we've got the measuring tools. You can't install Geotextile Stabilization Fabric properly without knowing the exact dimensions of the area you're working on. A good old - fashioned tape measure is a must - have. It's simple, reliable, and can give you accurate measurements for both small and large areas. For larger projects, a laser distance measurer can be a real time - saver. It can quickly and accurately measure long distances, making it easier to plan out how much fabric you'll need.
These tools are crucial because getting the measurements right ensures that you don't end up with too much or too little fabric. You want to cover the area completely without having a bunch of extra material lying around. And trust me, as a supplier, I've seen a lot of projects go wrong because of inaccurate measurements.
2. Cutting Tools
Once you've got your measurements, it's time to cut the Geotextile Stabilization Fabric to size. A sharp utility knife is the go - to tool for this job. It can easily slice through the fabric, giving you clean and precise cuts. Make sure to keep the blade sharp, as a dull knife can tear the fabric instead of cutting it smoothly.
For larger projects or if you're dealing with a lot of fabric, a fabric cutter or shears can be more efficient. They can handle thicker fabrics and make the cutting process faster. Just be careful when using these tools, as they can be quite sharp.
3. Anchoring Tools
Anchoring the Geotextile Stabilization Fabric is essential to keep it in place. One of the most common anchoring tools is landscape staples. These are made of metal and can be easily driven into the ground to hold the fabric down. They come in different sizes, so you can choose the ones that are appropriate for your project.
Another option is ground pins. These are similar to landscape staples but are often made of plastic. They're lightweight and easy to install, and they work well in softer soils. For more heavy - duty applications, you might need to use sandbags or concrete blocks to anchor the fabric. These can provide extra stability, especially in areas with high winds or strong water flow.
4. Seaming Tools
If you need to join multiple pieces of Geotextile Stabilization Fabric together, you'll need seaming tools. A sewing machine designed for heavy - duty fabrics can be a great option. It can create strong and durable seams that will hold up over time. Make sure to use the right thread for the job, one that's resistant to UV rays and water.
If you don't have a sewing machine, you can also use adhesive tapes. There are special tapes available that are designed to bond Geotextile fabrics. They're easy to use and can provide a quick and effective way to join the fabric pieces. Just make sure to follow the manufacturer's instructions when using these tapes.
5. Compaction Tools
After installing the Geotextile Stabilization Fabric, you'll need to compact the soil to ensure a good bond between the fabric and the ground. A hand tamper is a simple and effective tool for small areas. You can use it to gently tap the soil around the fabric, making it more compact.
For larger areas, a plate compactor can be used. It's a machine that vibrates and applies pressure to the soil, compacting it quickly and efficiently. This helps to prevent the fabric from shifting or moving over time.
6. Brushes and Brooms
Brushes and brooms are important for cleaning the installation area before laying the Geotextile Stabilization Fabric. You want to remove any debris, dirt, or rocks from the surface to ensure a smooth and even installation. A stiff - bristle brush can be used to scrub the area, while a broom can be used to sweep away the loose debris.
Cleaning the area also helps to improve the adhesion of the fabric to the ground. If there's a lot of dirt or debris between the fabric and the soil, it can prevent the fabric from bonding properly.
7. Safety Equipment
Last but not least, safety equipment is a must. When working with installation tools, you need to protect yourself. Safety goggles can protect your eyes from flying debris, especially when using cutting or anchoring tools. Gloves can protect your hands from cuts and abrasions. And if you're using heavy machinery like a plate compactor, ear protection is essential to prevent hearing damage.
Now, I know all these tools might seem like a lot, but they're all important for a successful installation of Geotextile Stabilization Fabric. And as a supplier, I can offer you high - quality Geotextile Stabilization Fabric along with advice on which tools are best for your specific project.
If you're also interested in related products, we have some great options like Geocomposite Clay Liner, PE PP Composite Waterproof Membrane, and Cross Laminate Reactive Membrane. These products can work in tandem with Geotextile Stabilization Fabric to provide even better waterproofing and stabilization solutions.
If you're planning a project that requires Geotextile Stabilization Fabric or any of our other products, don't hesitate to reach out. We're here to help you with all your needs, from product selection to installation advice. Let's work together to make your project a success!
References
- ASTM D4439 - Standard Terminology for Geosynthetics
- Giroud, J. P., & Han, J. (2004). Design and construction of soil - geosynthetic structures. Taylor & Francis.