

What is the application method of Polymer Cement Waterproof Coating?
Nov 12, 2026
Leave a message
Polymer cement waterproof coating is a game - changer in the world of waterproofing. As a supplier of this amazing product, I've seen firsthand how it can transform a leaky, damp space into a dry and secure one. In this blog, I'll walk you through the application method of polymer cement waterproof coating, so you can get the most out of it.
Understanding Polymer Cement Waterproof Coating
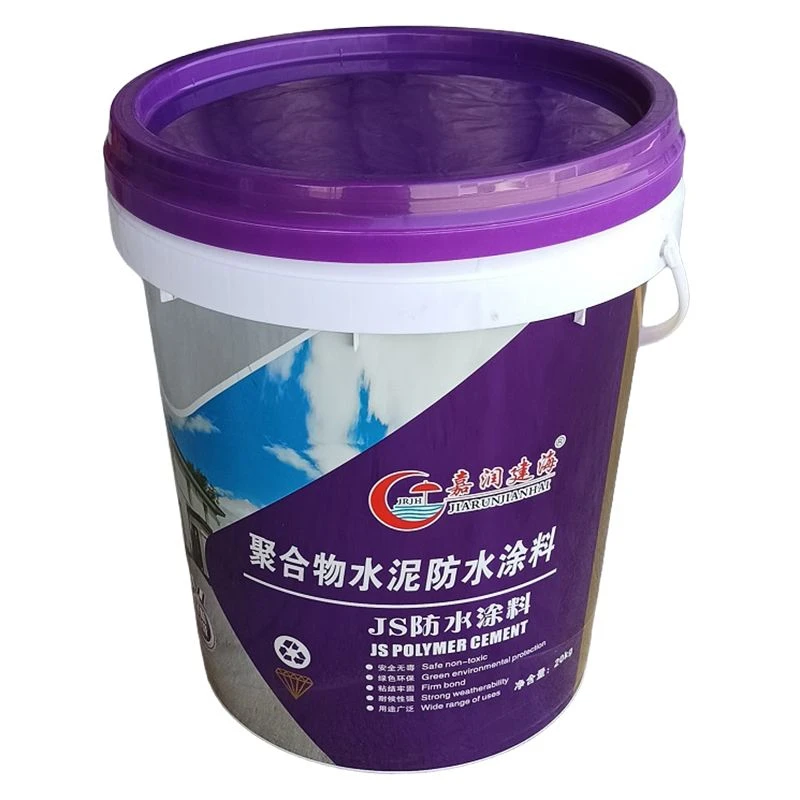
Before we dive into the application process, let's quickly go over what polymer cement waterproof coating is. It's a blend of polymers and cement, which creates a flexible and durable waterproof barrier. This type of coating is great for a variety of surfaces, including concrete, brick, and masonry. You can find more details about it on our website Polymer Cement Waterproof Coating.
Surface Preparation
The key to a successful waterproofing job starts with proper surface preparation. Here are the steps you need to follow:
- Clean the Surface: Remove all dirt, dust, grease, and loose particles from the surface. You can use a wire brush, a pressure washer, or a suitable cleaning solution. Make sure the surface is completely dry before moving on to the next step.
- Repair Cracks and Holes: Fill any cracks or holes with a suitable patching compound. For small cracks, you can use a polymer - modified cement mortar. Let the patching compound dry completely according to the manufacturer's instructions.
- Etch the Surface (if necessary): In some cases, especially on smooth surfaces, you may need to etch the surface to improve the adhesion of the waterproof coating. You can use an acid - based etching solution or a mechanical scarifier. After etching, rinse the surface thoroughly and let it dry.
Mixing the Coating
Once the surface is ready, it's time to mix the polymer cement waterproof coating. Here's how:
- Read the Instructions: Different brands of polymer cement waterproof coating may have slightly different mixing ratios. Make sure you read the product label carefully and follow the manufacturer's instructions.
- Use the Right Tools: You'll need a clean bucket, a mixing paddle, and a drill. The mixing paddle should be designed for mixing thick materials like cement - based coatings.
- Add the Components: Slowly add the powder component to the liquid component while stirring continuously with the mixing paddle. Keep stirring for at least 5 - 10 minutes until you get a smooth, lump - free mixture.
Application of the Coating
Now comes the fun part - applying the coating. You have a few options when it comes to application methods:
Brush Application
- Choose the Right Brush: Use a high - quality, natural bristle brush for the best results. The brush should be large enough to cover the surface quickly, but not so large that it's difficult to control.
- Apply the First Coat: Dip the brush into the coating mixture and apply it evenly to the surface in a thin, uniform layer. Make sure to work the brush into the corners and edges to ensure complete coverage. Let the first coat dry for the recommended time, usually 2 - 4 hours depending on the temperature and humidity.
- Apply the Second Coat: After the first coat is dry, apply a second coat in the same way as the first coat, but at a 90 - degree angle to the first coat. This cross - hatching technique helps to ensure better coverage and a more durable waterproof barrier.
Roller Application
- Select a Suitable Roller: Use a medium - nap roller cover for a smooth finish. Make sure the roller is clean and dry before use.
- Roll on the Coating: Pour some of the coating mixture into a paint tray. Dip the roller into the tray and roll it back and forth on the tray to distribute the coating evenly on the roller. Then, roll the coating onto the surface in a smooth, steady motion. Work in small sections to ensure even coverage.
- Apply Multiple Coats: Just like with brush application, apply at least two coats of the coating, allowing each coat to dry completely between applications.
Spray Application
- Use a Spray Gun: You'll need a spray gun designed for applying thick coatings. Make sure to adjust the spray pattern and pressure according to the manufacturer's instructions.
- Mask Off Surrounding Areas: To prevent overspray, mask off any areas that you don't want to be coated, such as windows, doors, and fixtures.
- Spray the Coating: Hold the spray gun about 8 - 12 inches away from the surface and spray the coating in a horizontal, overlapping motion. Apply the coating in thin, even layers. Let each layer dry before applying the next one.
Curing and Drying
After applying the polymer cement waterproof coating, it's important to let it cure properly. Here are some tips:
- Follow the Curing Time: The curing time depends on the temperature, humidity, and the type of coating. In general, it takes about 24 - 48 hours for the coating to dry completely and up to 7 days for it to reach its full strength.
- Avoid Traffic and Water Exposure: During the curing period, avoid walking on the coated surface or exposing it to water. This will help the coating to form a strong and durable waterproof barrier.
Comparison with Other Waterproofing Products
Polymer cement waterproof coating is just one of the many waterproofing products available in the market. Let's take a quick look at how it compares to some other popular options:

- Cementitious Crystalline Waterproof Coating: Cementitious crystalline waterproof coating works by reacting with water and cement in the concrete to form crystals that block the pores and capillaries. While it's great for internal waterproofing of concrete structures, polymer cement waterproof coating is more flexible and can be used on a wider range of surfaces.
- Leak Proof Paint for Terrace: Leak - proof paint for terraces is typically a thin - film coating that provides a basic level of waterproofing. Polymer cement waterproof coating, on the other hand, is thicker and more durable, making it a better choice for areas with high water pressure or heavy foot traffic.
- Elastomeric Waterproofing Liquid Membrane Coating: Elastomeric waterproofing liquid membrane coating is highly flexible and can stretch and contract with the movement of the substrate. Polymer cement waterproof coating offers a good balance of flexibility and strength, and it's also more resistant to abrasion.
- Waterproof Breathable Masonry Paint: Waterproof breathable masonry paint allows moisture to escape from the wall while preventing water from entering. Polymer cement waterproof coating provides a more robust waterproof barrier, but it may not be as breathable as masonry paint.
Conclusion
Applying polymer cement waterproof coating is not as difficult as it may seem. By following the steps outlined in this blog, you can ensure a successful waterproofing job. Whether you're a DIY enthusiast or a professional contractor, this versatile coating can help you protect your surfaces from water damage.
If you're interested in purchasing polymer cement waterproof coating or have any questions about its application, feel free to reach out. We're here to help you find the best waterproofing solution for your needs. Take the first step towards a dry and secure space today!
References
- Product manuals of polymer cement waterproof coatings.
- Industry best practices for waterproofing applications.